In this step you learn how to use the State Tools window to create and use application states.
Create states in the State Tools window
Use a State Manager to create different states in your Kanzi application. The State Tools window shows the State Manager for the node you select in the Project window.
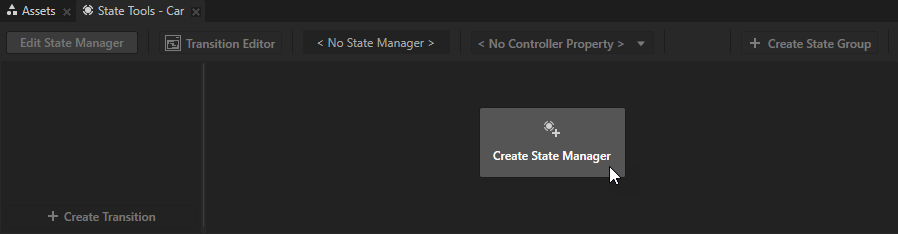
You can find the State Tools window below the Preview window.
In this section you use the Kanzi StudioState Tools to create a state manager and define application states.
To create states in the State Tools window:
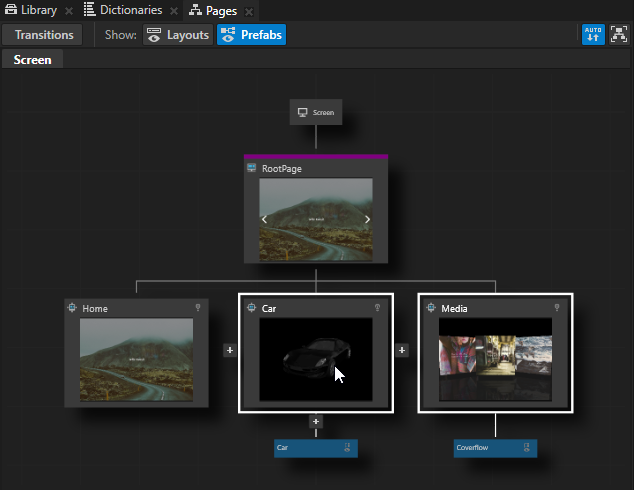
In the Pages window click the Car node to go to that Page node.
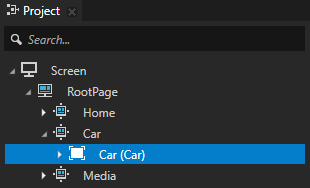
In the Project window in the CarPage node select the CarViewport 2D node.
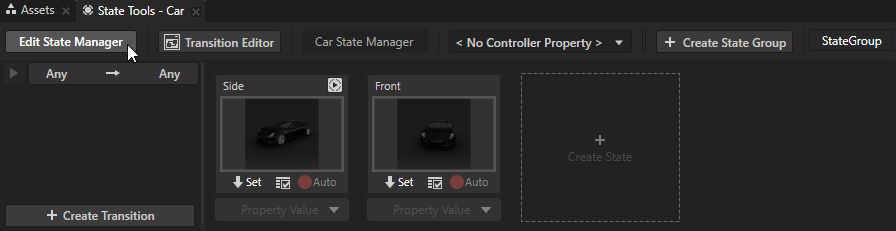
In the State Tools window click Create State Manager. Kanzi Studio creates a new state manager, assigns it to the Car node, and sets the State Tools window to the Edit mode. When the State Tools window is in the Edit mode, the Preview window tab and border turn orange.
TIP
When the State Tools window is in the Edit mode Kanzi Studio keeps track of all the changes you make to the property values in the selected node and its tree. If you are not changing the definition of states in your application, switch off the editing mode of the State Tools.
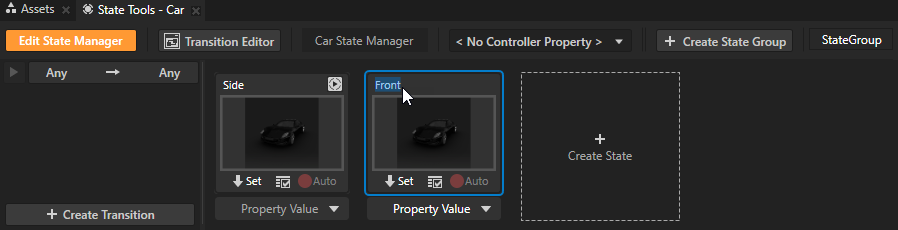
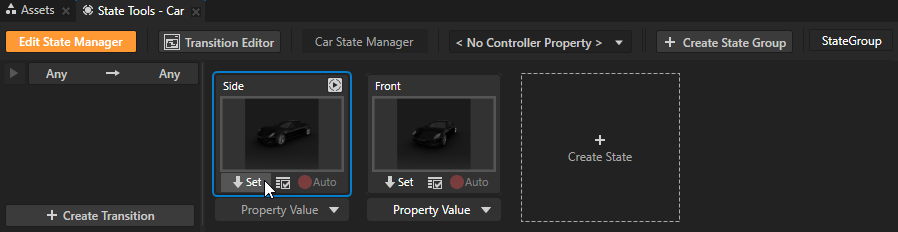
In the State Tools click Create State twice to create two states, double-click the name of each state, and rename the states. For example, name one state Side and the other Front.
Use the State Tools to set what the application looks like in that state:
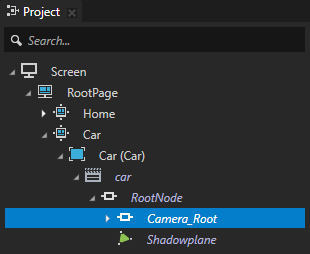
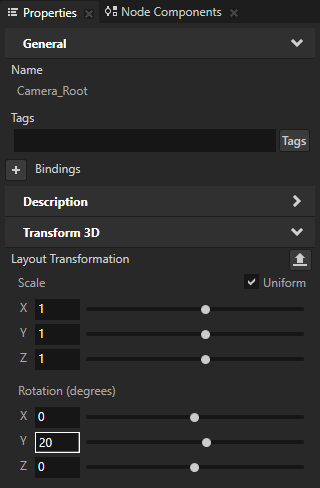
In the Project window select the Car > car > RootNode > Camera_Root node and in the Properties window set the Layout TransformationRotation Y property field to 20. With this setting you show the car model from a different angle by rotating the node which contains the Camera node.
In the State Tools window in the Side state click . When you click Kanzi Studio saves to that state the values of properties you changed in the project.
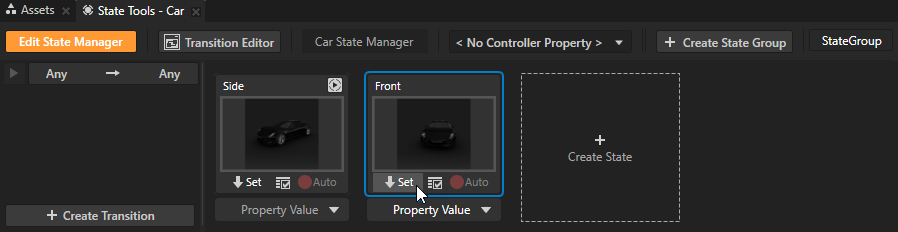
Repeat the previous step, but set the Layout TransformationRotation Y property field to -20 and save the change to the Front state.
TIP
When the State Tools window is in the Edit you can click any state in that State Manager to see what your application looks like in that state.
Click Edit State Manager to exit the State ToolsEdit mode.
Set the application state
In this section you create a button in your Kanzi application which allows users of your application to switch between the states you created in the previous section.
To set the application state:
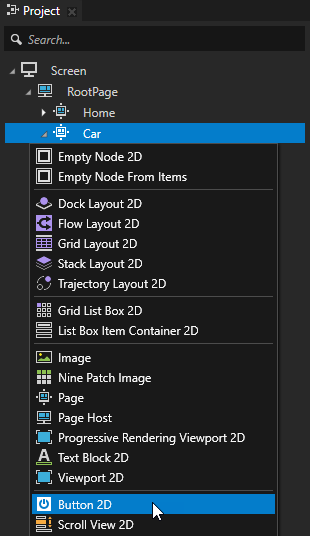
In the Project window press Alt and right-click the CarPage node and select Button 2D.
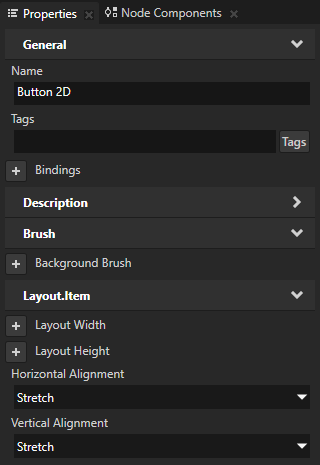
In the Properties window add the Horizontal Alignment and Vertical Alignment properties and set both to Stretch. With this setting you set the size of the Button 2D node to be of the same size as the CarPage node, its parent node. In this way you enable the users of your application to click anywhere in CarPage node to activate the button.
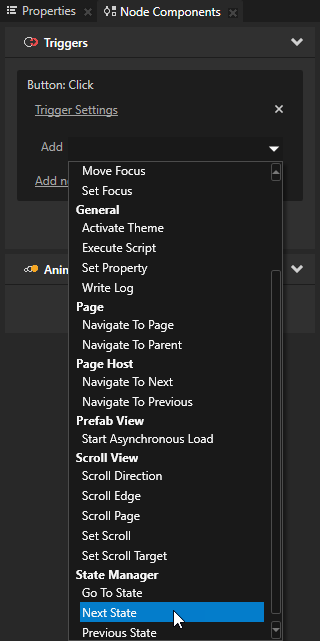
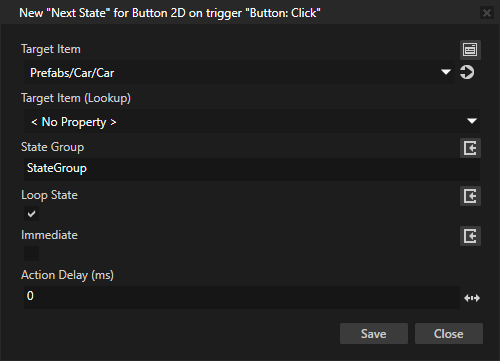
In the Node Components window in the Button: Click trigger click the Add dropdown menu and select the Next State action. Use the Next State action to go to the next state in the state group of the state manager you set in this action.
In the Next State action settings set:
State Group to StateGroup
Target Item to Prefabs/Car/Car
Click Save.
In the Preview window when you click anywhere in the CarPage, except the Next and Previous buttons, you switch between the Side and Front application states.
Make sure that the performance of your Kanzi application is optimal. See Best practices.
Getting help
When you want to find out more about an item in your project, such as what is a Viewport 2D, select an item in the Project or Library window and in the Properties window click or press F1.
Kanzi Studio opens Kanzi documentation in your default browser and shows the relevant topic.
To sign in to the Kanzi Support Portal and to use the Kanzi online documentation, in your browser you must allow these cookies:
 .
.

 or press F1.
